Getting started
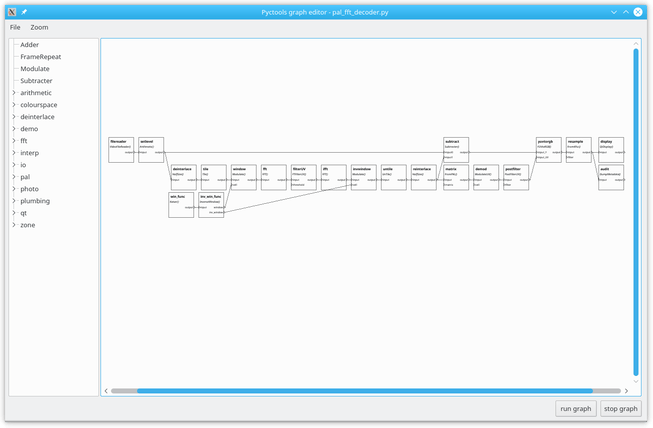
If Pyctools has been installed correctly the pyctools-editor command should launch a program similar to that shown below.
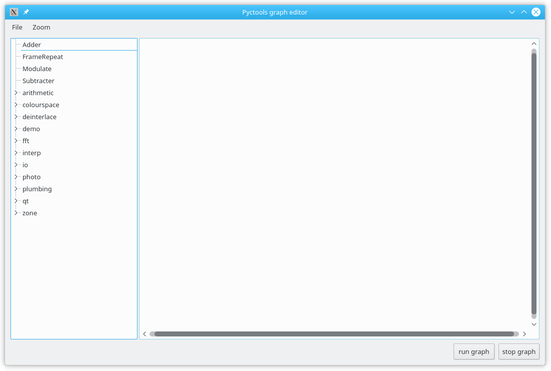
The exact appearance will depend on your computer’s operating system and user preferences, but the main functional elements should be the same.
Adding components
On the left hand side there is a list of Pyctools components and on the right there is a large empty space where components can be placed and connected, called the “graph area”.
Click on zone in the component list to expand it, then drag ZonePlateGenerator onto the graph area.
A dialog box pops up asking you to give the new component a name, as shown below.
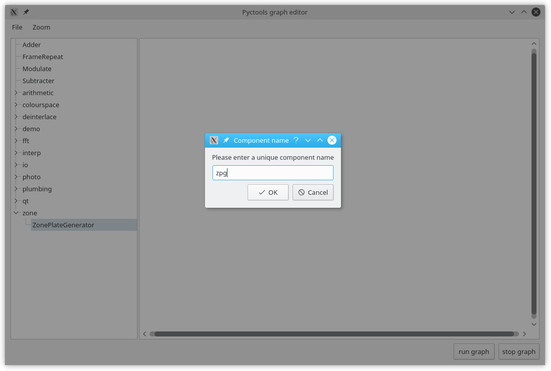
Accept the suggested name by clicking the OK button.
A zone plate generator component has now been added to the graph area.
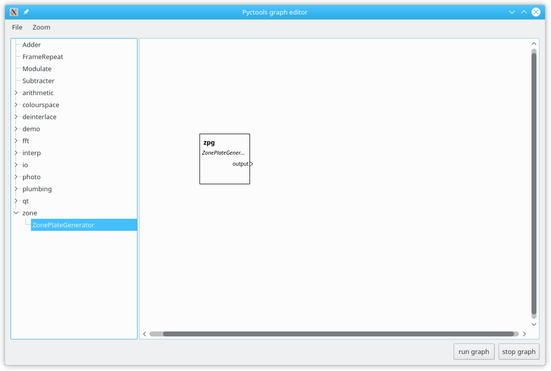
You can move the component around by clicking and dragging it.
“Hovering” your mouse over the component should display a “tool tip” popup with the component’s documentation.
Clicking on the component selects it and its border is shown dashed.
Selected components can be deleted with the computer’s delete key.
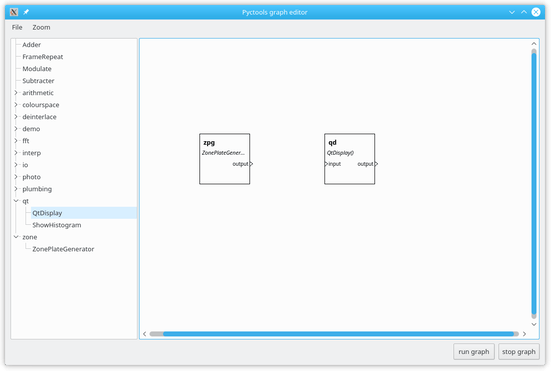
Click on qt and drag a QtDisplay component to the graph area.
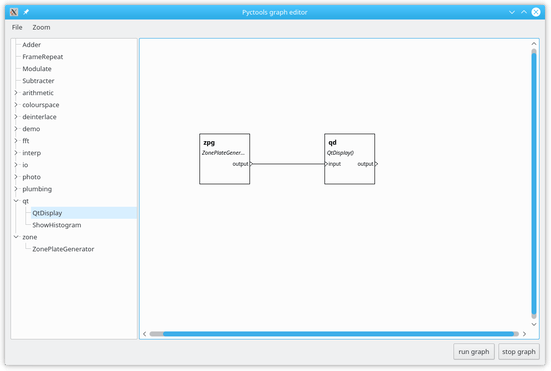
Connecting components
Now click and drag the ZonePlateGenerator’s output connector to the QtDisplay’s input (or vice versa).
This connects the two components, as shown below.
(To delete the connection, select the link and press the delete key.
The easiest way to select the link is to click and drag across it to select an area of the graph that includes the link.)
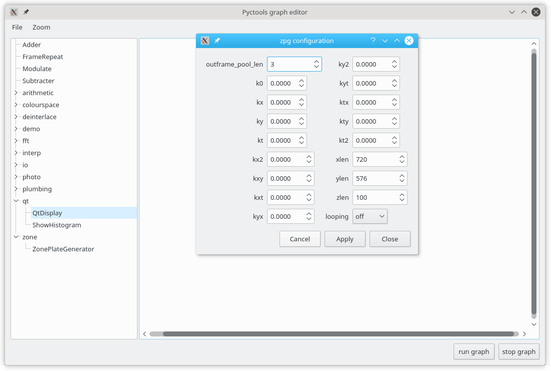
Component configuration
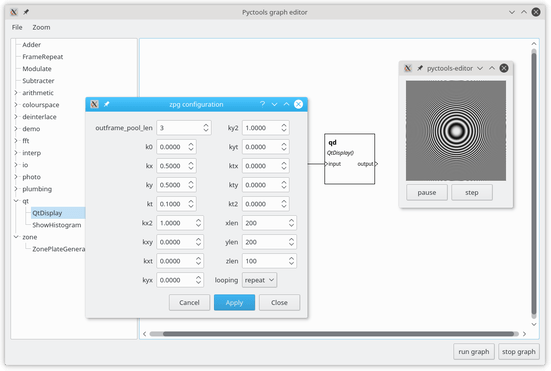
Double click on the ZonePlateGenerator, or right-click on it and select configure from the pop-up menu.
This opens the component’s configuration dialog, as shown below.
(You can move the dialog to any convenient position.)
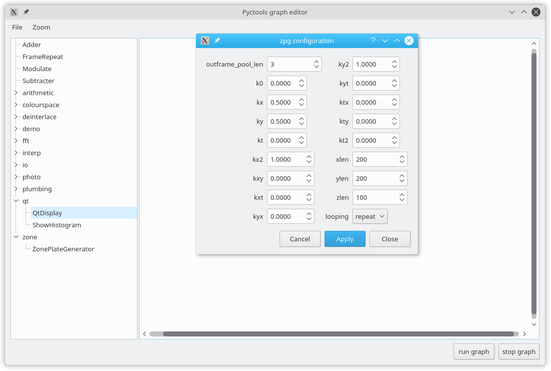
Set the following values in the configuration dialog:
kx0.5ky0.5kx21.0ky21.0xlen200ylen200loopingrepeat
then click on the apply button.
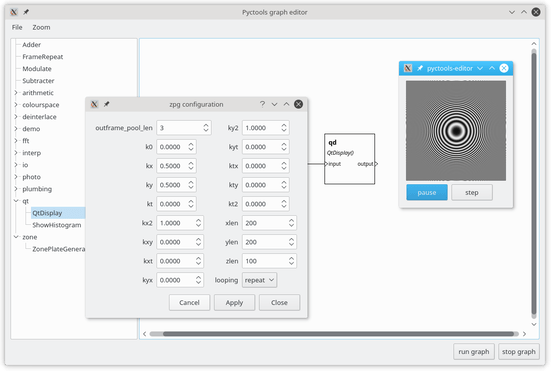
Running the graph
Clicking on the run graph button should start the components running.
Another window opens showing the video output from the ZonePlateGenerator.
This is the classic “static circular” zone plate test pattern.
Using the zone plate configuration window, set the kt value to 0.1, then click on the apply button.
Now the zone plate should show some movement.
Hopefully your computer is powerful enough to generate a smoothly moving video.
Being able to update the configuration while the graph is running makes it very easy to experiment with the zone plate generator.
Try setting the kt value to 0.9 instead of 0.1.
Saving the graph
Finally, you can save the graph, with all its connections and configuration, to use later.
The file menu has load script and save script actions, with the usual keyboard shortcuts.
Note that you can run your saved script directly, without running pyctools-editor.
If you’ve saved it as zone-plate.py you can run it with the command python zone-plate.py.
Compound components
The Compound component encapsulates a group of components.
This allows a few simple components to be assembled into something a bit more complicated that can be treated as a single component.
Compound components are shown on the graph area with a dashed outline.
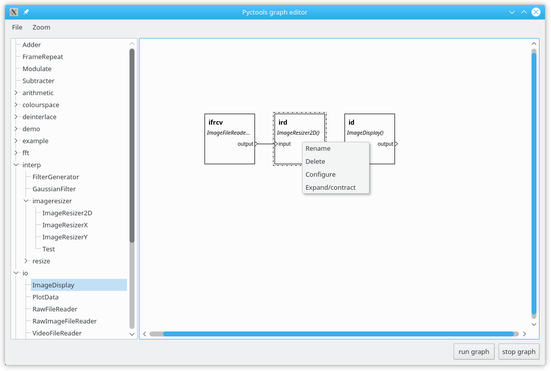
The compound component’s context menu includes an extra item Expand/contract.
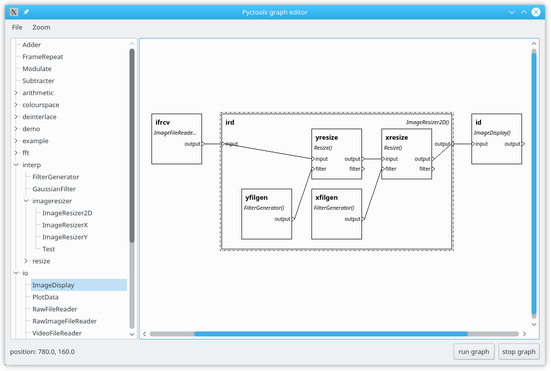
Expanding the component shows its internal components and linkages.
In this case the component is an image resizer made by pipelining a vertical resizer and a horizontal resizer, each with their own filter generator.
More components
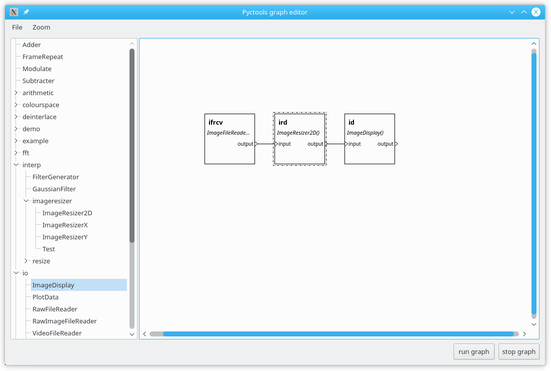
A graph can contain many more components than in the simple examples shown above. Here’s something a bit more complicated.
Comments or questions? Please email jim@jim-easterbrook.me.uk.